Crocheting Edges for Blankets, A Step-by-Step Guide
Crocheting edges on blankets is a wonderful way to add a personal touch to your home décor. It's a simple yet creative process that can transform a basic blanket into a cherished heirloom. Here’s a step-by-step guide on how to crochet edges for blankets, suitable for beginners and seasoned crafters alike.
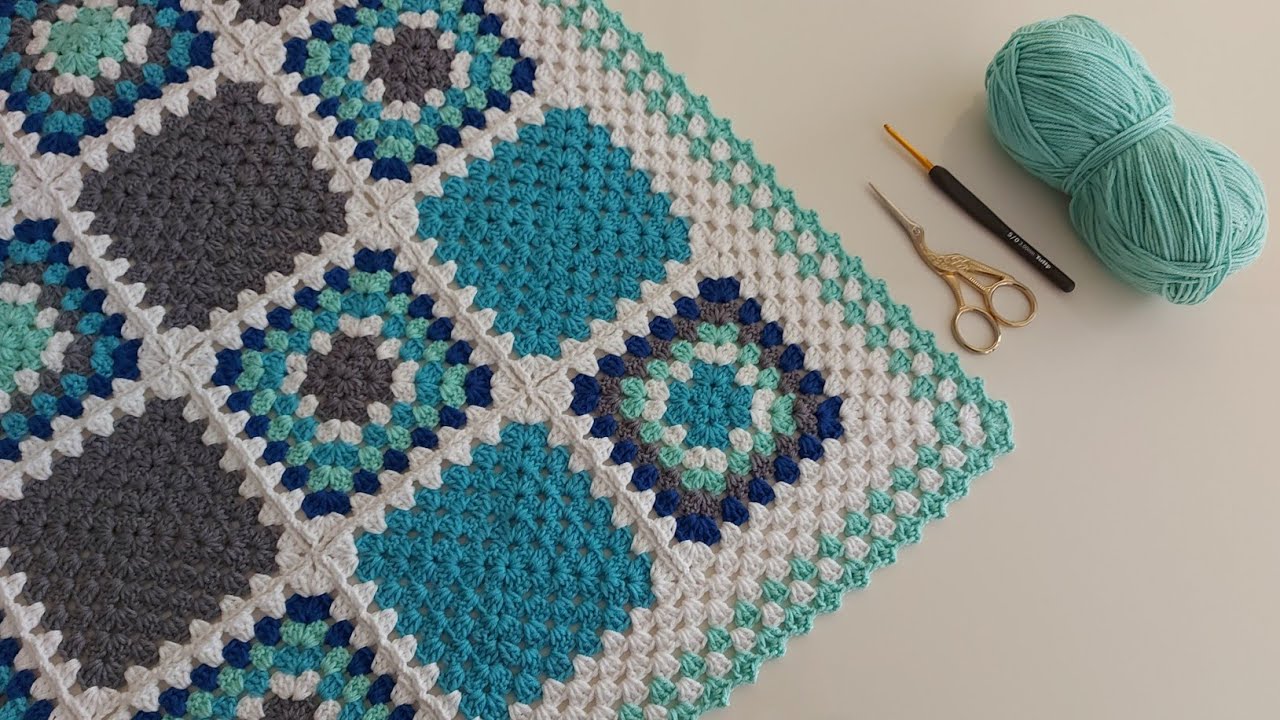
Materials Needed:
- Yarn: Choose a yarn that complements your blanket. For a softer edge, consider cotton or acrylic yarns.
- Crochet Hook: The size of the hook should match the weight of your yarn. A standard size for beginners is 5mm.
- Scissors
- Tapestry Needle (for weaving in ends)
Basic Stitches:
- Slip Stitch (sl st): Insert hook, yarn over, pull through both loops on the hook.
- Single Crochet (sc): Insert hook, yarn over, pull up a loop, yarn over, pull through both loops on the hook.
- Double Crochet (dc): Yarn over, insert hook, yarn over, pull up a loop, (yarn over, pull through 2 loops) twice.
Instructions:
-
Preparation: Begin by choosing the corner of the blanket where you wish to start. If your blanket is fleece or another non-crocheted fabric, create a foundation row of stitches around the edge using a needle and thread.
-
Starting the Crochet Edge:
- Attach the yarn to the crochet hook with a slip knot.
- Insert the hook into the foundation row or the edge of the crocheted blanket.
- Begin with a slip stitch to secure the yarn.
-
First Row (Single Crochet):
- Proceed with single crochet stitches evenly along the edge of the blanket.
- Be consistent with the spacing to ensure an even edge.
-
Adding Decorative Stitches:
- After the first row, you can add decorative stitches like scallops, shells, or picots.
- For a simple scalloped edge: Skip 2 stitches, 5 double crochets in the next stitch, skip 2 stitches, 1 single crochet. Repeat around.
-
Corners:
- Handle corners by adding extra stitches to keep the work flat. For instance, in a scalloped edge, make 7 double crochets instead of 5 in the corner stitch.
-
Finishing Off:
- Once you’ve worked around the entire blanket, finish off with a slip stitch in the first stitch of the edge.
- Cut the yarn, leaving a small tail, and pull it through the last stitch.
- Weave in the ends with a tapestry needle for a neat finish.
Tips:
- Consistency is Key: Keep your stitches uniform for a professional look.
- Yarn Choice: Different yarns can dramatically change the appearance. Experiment with colors and textures.
- Practice Makes Perfect: If you're new to crocheting, practice the stitches on a spare piece of fabric.
Crocheting edges on blankets is not only a craft but an art form that allows for endless creativity. Enjoy the process and the unique touch it adds to your blankets!