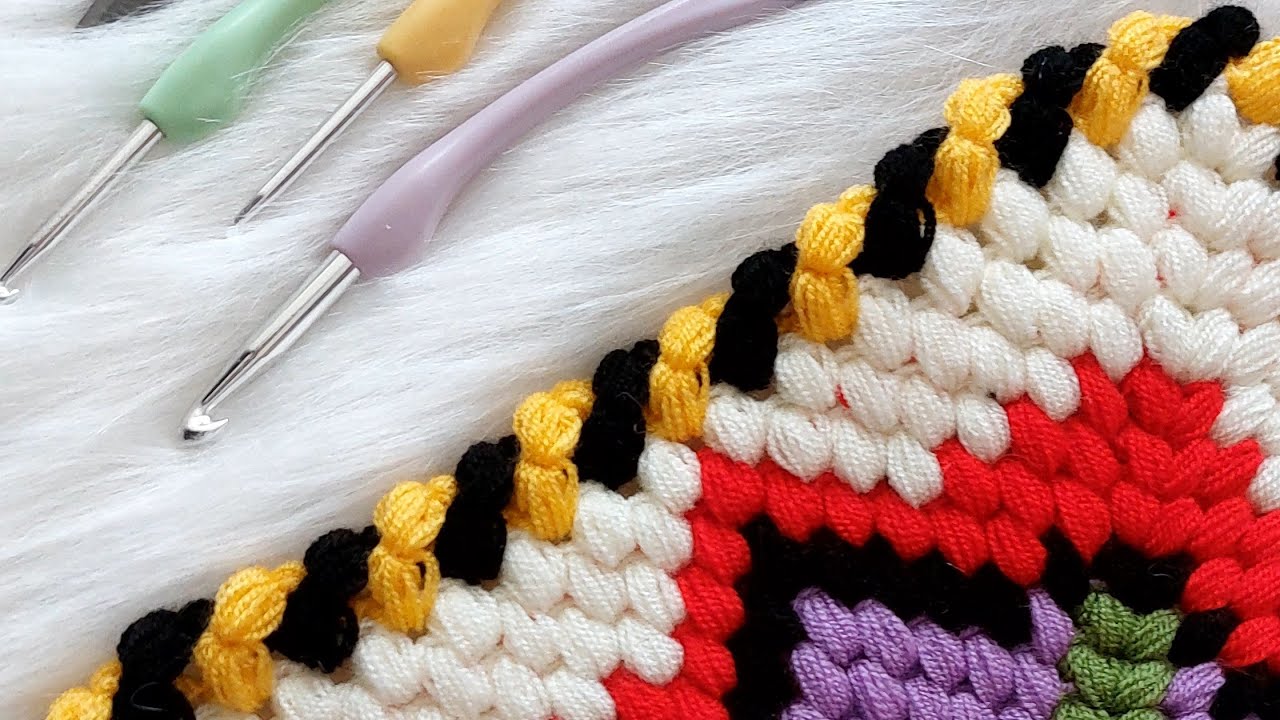
From Novice to Pro, Mastering the Art of Easy Lace Border Crochet

Crocheting a lace border is a beautiful way to add a delicate touch to various fabric projects like handkerchiefs, tablecloths, or even clothing. This guide will walk you through the process of crocheting an easy lace border, perfect for beginners or those looking for a quick and elegant addition to their craft projects.
Materials Needed
- Crochet Hook: Size will depend on your yarn choice and the desired tightness of your lace.
- Yarn: Choose a yarn that complements your main fabric. Cotton or silk yarns are often used for lace.
- Scissors: For cutting the yarn once your border is complete.
- Fabric: The item you wish to add your lace border to.
Basic Stitches Used
- Chain Stitch (ch): The foundation of all crochet projects.
- Single Crochet (sc): A simple, basic crochet stitch.
- Double Crochet (dc): A taller stitch than the sc, providing a more open look.
Step-by-Step Guide
Step 1: Preparing Your Fabric
- Choose Your Fabric: Select the item you wish to embellish with a lace border.
- Edge Preparation: If needed, hem or prepare the edge where you will attach the lace.
Step 2: Starting Your Lace
- Create a Slip Knot: Place this on your crochet hook.
- Foundation Chain: Chain a length that matches the edge of your fabric. Make sure the number of chains is divisible by the pattern repeat.
Step 3: Crocheting the First Row
- Start with a sc in the second chain from the hook.
- Follow with a dc in the next chain.
- Alternate sc and dc: This creates a simple, yet elegant foundation row.
Step 4: Building the Lace Pattern
- Chain 3 (counts as first dc). Turn your work.
- Skip the first sc, dc in the next sc.
- Chain 1, skip next dc, sc in the next stitch.
- Repeat: Continue this pattern across the row.
Step 5: Attaching the Lace to Fabric
- Line up your lace with the fabric edge.
- Use a simple whip stitch or a slip stitch to attach the lace to the fabric.
- Ensure the stitches are even and secure.
Step 6: Finishing Touches
- Trim any excess yarn.
- Weave in Ends: Use a needle to weave in any loose ends for a neat finish.
Tips for Success
- Yarn Choice: Lighter yarns make more delicate laces.
- Practice: Make a small sample to practice the pattern.
- Washing: Consider the care instructions for your yarn and fabric.
Adding a crochet lace border is a simple yet impactful way to enhance your textile projects. With practice, you can modify and expand upon this basic pattern to create diverse and intricate designs. Enjoy the process and the beautiful results of your handiwork!