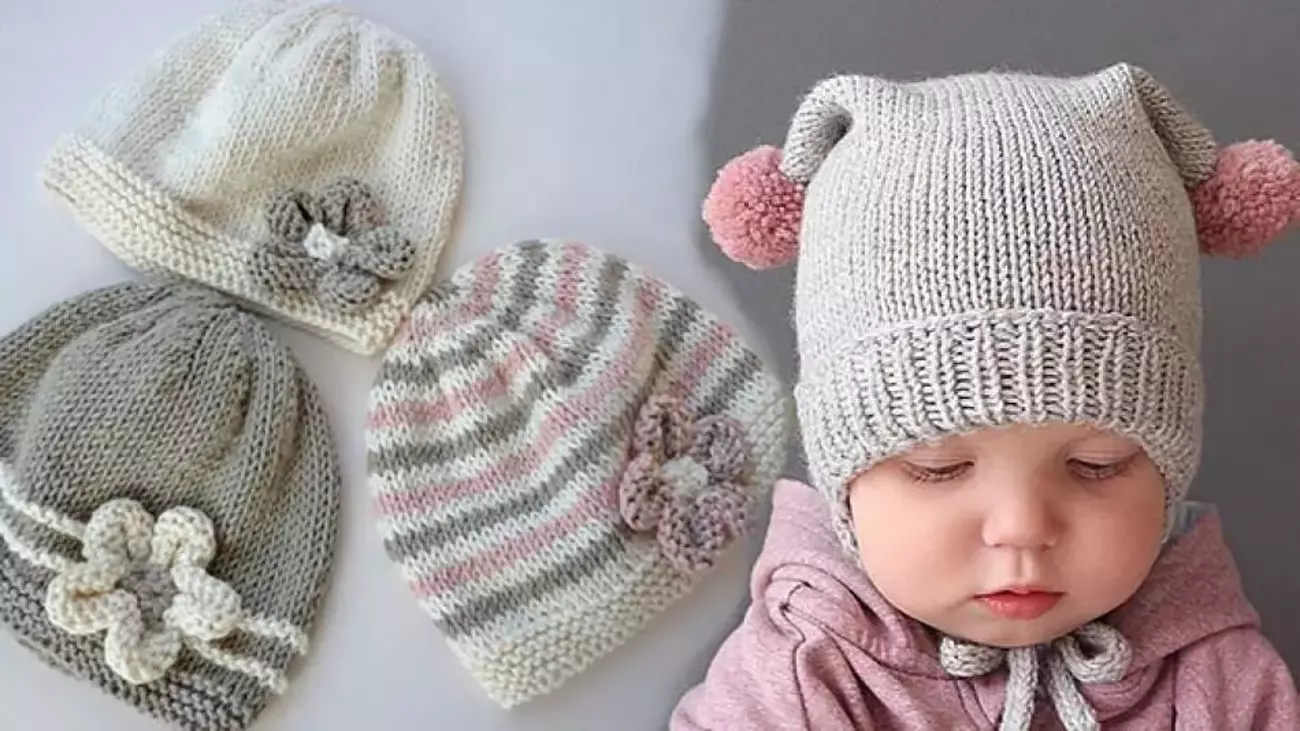
Knitting a Baby Boy's Beanie, A Step-by-Step Guide

Knitting a beanie for a baby boy is not only a heartwarming gift but also a delightful project for knitters of all levels. This guide provides a simple yet stylish beanie pattern perfect for keeping little heads warm and cozy.
Materials Needed
- Soft, baby-friendly yarn (preferably hypoallergenic and washable)
- Circular knitting needles (size appropriate for your yarn)
- Stitch markers
- Scissors
- Yarn needle for finishing
Pattern Overview
This beanie pattern is designed for newborns to six-month-old babies. It features a ribbed brim for snug fit and a smooth stockinette stitch body for a classic look.
Step 1: Casting On Begin by casting on 72 stitches using the long-tail cast-on method. This method provides a stretchy edge, ideal for a comfortable fit.
Step 2: Knitting the Brim
- Knit in a 2x2 rib pattern (knit 2, purl 2) for about 1.5 inches.
- This ribbed pattern ensures the beanie will stay securely on the baby’s head.
Step 3: Body of the Beanie
- After completing the ribbed brim, switch to the stockinette stitch (knit all rounds) for the body.
- Continue until the beanie measures about 4 inches from the cast-on edge.
Step 4: Decreasing for the Crown
- Start the decrease by knitting two stitches together (k2tog) throughout the round.
- Knit one plain round.
- Repeat these decrease rounds, interspersed with plain rounds, until only 8 stitches remain.
Step 5: Finishing the Beanie
- Cut the yarn, leaving a long tail.
- Thread the tail through the remaining stitches using a yarn needle.
- Pull tight to close the top of the beanie.
- Weave in all loose ends for a neat finish.
Your hand-knitted baby boy’s beanie is now ready! This beanie not only makes a thoughtful gift but also introduces beginners to basic knitting techniques. Feel free to experiment with different colors and yarn textures to create a unique and personalized beanie.